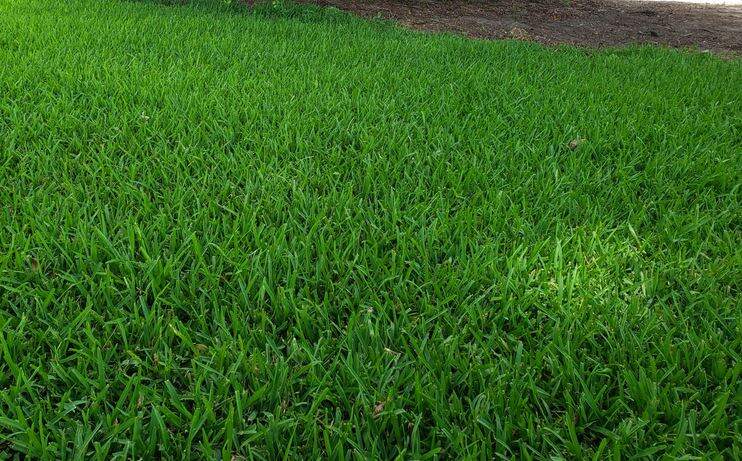
St. Augustine grass, known for its lush blue-green blades, thrives across the warmer regions of the Southern United States. Despite its resilience, St. Augustine grass can fall prey to challenges such as pest infestation, fungal diseases, and improper lawn care practices, which can dull its vigor and vitality. Consequently, you may want to know how to revive St. Augustine grass whenever you encounter such situations.
Reviving a St. Augustine grass involves proper watering, soil health, and battling pests and diseases like chinch bugs and fungal invaders.
In the rest of this article, I’ll discuss six effective strategies to revive and maintain your St. Augustine grass, including how to deploy expert lawn care tactics to counteract common issues such as brown patches, dead spots, and thinning grass.
As we explore how to revive St. Augustine grass, you’ll gain insights into nurturing a vibrant, durable lawn ready to withstand the challenges of its environment. Keep reading.
Identifying the Problem
The first step into reviving your St. Augustine grass is identifying the underlying problem. This way, you’ll be in the right position to tackle the menace and make your lawn lush again.
Let’s explore some of the main challenges your lawn may be facing.
Pests and Diseases
Pests and diseases are the main cause of poor growth in St. Augustine grass. The most common ones include:
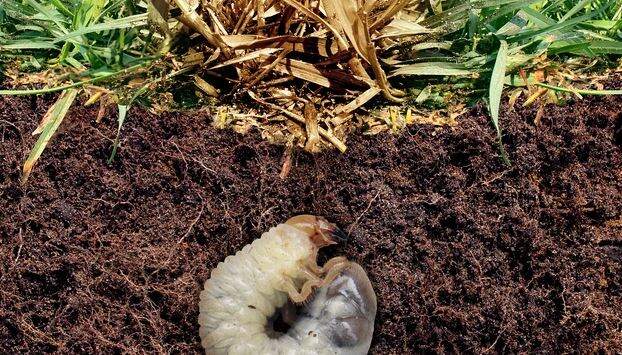
- Grub Worms: They feed on the roots, creating brown or yellow patches on the lawn, leading to wilting of the turf. The grass may also feel spongy underfoot.
- Chinch Bugs: These pests are notorious for sucking fluids from St. Augustine grass, injecting toxins that cause the grass to wither and die. Look for irregular patches of dead or stunted grass with a yellow halo.
- Fungal Diseases: Brown Patch and Take All Patch are common, with signs like yellow or brown circles of grass. These diseases thrive in moist conditions and can be exacerbated by overwatering.
Soil and Environmental Stress
- Poor Soil Quality: St. Augustine grass struggles in soil filled with gravel, rocks, or heavy clay. This impedes root growth, limiting access to nutrients and water.
- Herbicide Sensitivity: This grass type is particularly sensitive to herbicides like 2,4-D. Therefore, always read herbicide labels thoroughly before application.
- Cold Sensitivity: St. Augustine grass does not perform well under cold conditions. It experiences foliage damage and weakening during unexpected cold spells.
Improper Lawn Maintenance
- Overfertilization: Applying too much fertilizer can burn the lawn, leading to discolored, damaged grass.
- Poor Mowing Practices: Cutting the grass too short can damage the crowns and make it more susceptible to diseases and pests.
- Thatch Build-up: Caused by overwatering, excessive nitrogen, infrequent mowing, or using underpowered mowers, thatch prevents water and nutrients from reaching the soil.
The table below shows a summary of common issues, their indicators, and causes:
| Issue | Indicator | Possible Cause |
| Patchy Dead Spots | Brown, spongy areas; thinning turf | Grub worms, fungal diseases |
| Discoloration | Yellow, brown, or reddish-brown patches | Chinch bugs, overfertilization |
| Poor Growth | Thinning grass, less vigorous growth | Poor soil quality, nematode infestation |
| Environmental Damage | Grass easily pulls loose from soil | Cold damage, shade, improper watering |
By identifying these common problems, you can take targeted actions to address the specific challenges facing your St. Augustine grass.
Reviving St. Augustine Grass
Now that you know where the problem could be, let’s explore how you can revive your St. Augustine grass and make it lush again.
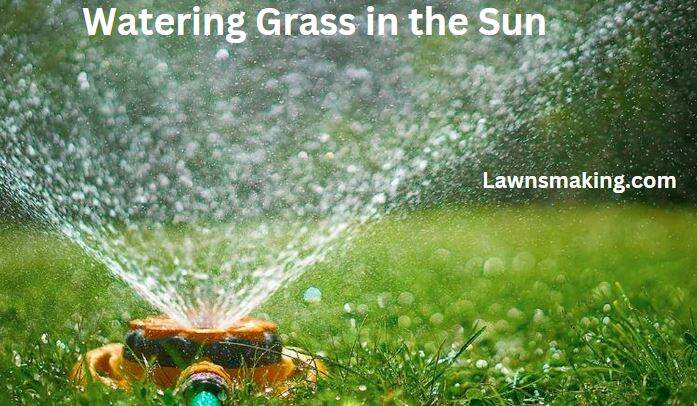
1. Proper Watering Techniques
While watering is essential for maintaining the health of your grass, it’s essential to practice proper watering techniques. These techniques ensure that your grass will receive sufficient water for growth.
Consider the following when watering your St. Augustine grass:
- Deep and Infrequent Watering: To promote deep root growth, water your St. Augustine grass deeply and infrequently (see the table below for depth). This method encourages roots to reach deeper into the soil, enhancing drought resistance.
- Morning Watering: The ideal time to water is early in the morning, between 6 am and 10 am to reduce evaporation and utilize the cooler temperatures for better absorption.
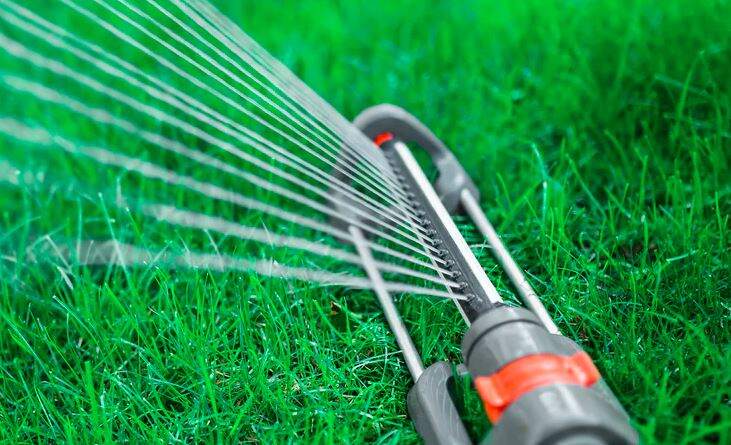
- Cycle and Soak Method: Incorporating the cycle and soak method prevents runoff and ensures that the water reaches deeper into the soil. This method is particularly effective on sloped lawns or compacted soil.
- Adjusting Watering Based on Season: Modify your watering schedule according to seasonal changes and current weather conditions. Less water is generally required during cooler months, and more during hot or dry periods.
The table below shows St. Augustine grass watering guidelines:
| Watering Aspect | Details |
| Watering Depth | Ensure each watering session moistens the soil to a depth of 6 inches, encouraging deep root system |
| Frequency for New Sod | Water daily during the first week to establish roots, then gradually reduce frequency. |
| Frequency for Established Sod | Adjust based on weather, typically less frequent than new sod. |
| Watering Amount | Aim for 3/4 to 1 inch of water during each session, using a gauge to measure output accurately |
- Check Soil Moisture: Regularly check the soil moisture to avoid over or under-watering. While overwatering can cause fungal diseases, under-watering may cause the grass to brown and go dormant.
- Use of Gauges: Employ watering gauges to ensure the correct amount of water is applied. This standardizes the watering process across different zones of your lawn.
By adhering to these watering techniques and regularly assessing your lawn’s response, you can effectively revive and maintain a healthy St. Augustine grass lawn.
2. Soil Health and Fertilization
Soil Testing and pH Adjustment
- Conduct a Soil Test: Begin by testing your lawn’s soil to determine nutrient levels and pH balance. This will guide your fertilization and amendment strategies.
- Adjust Soil pH: St. Augustine grass thrives at a pH level of 6 to 7.5. If your soil test reveals a pH outside this range, apply lime to raise the pH or sulfur to lower it, depending on the need.
Fertilization Practices
- Initial Fertilization: Start fertilizing three weeks after the grass turns green in spring. This ensures there’s no risk of frost to avoid damage.
- Nitrogen Application: Apply 1 pound of soluble nitrogen per 1,000 square feet every 8 weeks, or opt for 1.5 pounds of slow-release nitrogen every 10 weeks to sustain growth.
- Seasonal Adjustments: Use a higher nitrogen fertilizer in spring (e.g., 24-2-11), and switch to a low-nitrogen, micronutrient-rich formula in summer.
- Iron Supplements: To prevent yellowing from iron chlorosis, apply iron supplements as needed throughout the growing season. Be cautious as fertilizers with iron can stain hard surfaces.
Here is a table showing the fertilization schedule and types for reviving St. Augustine grass:
| Season | Fertilizer Type | Application Rate | Notes |
| Spring | High Nitrogen | 1 lb soluble nitrogen/1000 sq ft | Start 3 weeks after grass greens |
| Summer | Low Nitrogen with Micronutrients | 1.5 lbs slow-release nitrogen/1000 sq ft every 10 weeks | Adjust for heat and rainfall |
| Fall | Balanced (e.g., 16-4-8 for sandy soils) | Follow package directions | Prepare grass for winter, focus on root development |
| Winter | Potassium (Potash) | Apply every 45-60 days | Supports root health during dormancy |
By following these steps and maintaining a regular care schedule, you’ll significantly improve the health and appearance of your St. Augustine grass lawn.
3. Dealing with Pests and Diseases
If you notice that your St. Augustine grass has been infested by pests and diseases, here are some ways to deal with them:
- Grub Control: Apply grub control products in early spring to target and eliminate insect larvae before they mature and cause significant damage to the lawn.
- Mole Cricket Management: During the summer when mole crickets are most active, it’s crucial to dethatch the lawn to destroy their habitats. Additionally, applying broad-spectrum insecticides as per manufacturer guidelines will help control these pests.
- Nematode and Ground Pearl Control: Promoting good root health is essential to combat nematodes. For ground pearls, apply insecticides in May or early June during their crawler stage to effectively reduce their population. Ensure new sod is not infested by checking its roots before planting.
- White Grub and Billbug Treatment: The optimal time to treat white grubs is in early fall. Use insecticides like carbaryl and trichlorfon to manage their population effectively. Regular lawn maintenance such as mowing, fertilizing, and watering can prevent billbug infestations. Apply insecticides in early May for best results against billbugs.
- Chinch Bug Suppression: To control chinch bugs, use insecticides containing carbaryl or pyrethroid. Regular mowing, mulching grass clippings, and aerating the lawn can also help manage these pests. Consider planting improved St. Augustine grass varieties that are resistant to chinch bugs.
- Armyworm and Cutworm Defense: Maintain a regular irrigation and fertilization schedule to discourage armyworms and cutworms. Manage thatch effectively and apply insecticides to dry grass. For best results, use a combination of pre-emergent Bifen granules and Cyonara or eco granules every four months.
Here is a pest management table to guide you:
| Pest Type | Best Management Practices | Timing | Insecticide Recommendations |
| Grubs | Apply insecticides; maintain healthy lawn | Early fall (September, October) | Carbaryl, Trichlorfon |
| Mole Crickets | Dethatch lawn; apply broad-spectrum insecticides | Summer | Follow manufacturer’s guidelines |
| Nematodes | Promote root health | Ongoing | N/A |
| Ground Pearls | Apply insecticides during crawler stage | May, Early June | Check product specifics |
| Billbugs | Regular mowing and fertilization; use insecticides | Early May | As specified on product label |
| Chinch Bugs | Insecticides, mowing, mulching, aerating | As needed | Carbaryl, Pyrethroid insecticides |
| Armyworms, Cutworms | Regular irrigation, fertilization; manage thatch; use insecticides | Regular intervals | Bifen granules, Cyonara, Eco granules |
4. Aerating and Dethatching
Aeration Techniques
Lawn aeration improves nutrient absorption and reduces soil compaction. Perform this task as needed, particularly in areas with heavy clay or foot traffic.
Here are some lawn aeration tactics for the best results:
- Choose the Right Time: Aerate your lawn during the growing season, either in spring or fall, to ensure the grass can recover and fill in any open areas created by the aeration process.
- Select Proper Equipment: Use a motorized aerator with hollow tines for the most effective aeration. This method pulls plugs of soil out of the ground, improving soil structure and allowing for better penetration of air, water, and nutrients.
- Follow a Pattern: Aerate your lawn in a criss-cross pattern to maximize coverage and effectiveness. This ensures that no area is left compacted and that each section of your lawn benefits from aeration.
Dethatching Practices
Removing thatch buildup ensures that water, nutrients, and air reach the soil. This is crucial for the health of St. Augustine grass.
Here are the best techniques to dethatch your lawn:
- Assess Thatch Buildup: Before dethatching, check the thickness of the thatch layer. If it exceeds half an inch, it’s time to dethatch to allow moisture and nutrients to reach the soil more effectively.
- Choose the Right Tool: For minor thatch problems, a dethatching rake may suffice. For more severe cases, consider using a power dethatcher to remove dense layers of thatch efficiently.
- Optimal Timing: Perform dethatching during the lawn’s peak growing period, which for St. Augustine grass is typically in late spring or early summer. This timing helps the lawn recover quickly.
The table below summarizes the combined benefits of aerating and dethatching your lawn:
| Action | Benefit | Recommended Timing |
| Aeration | Improves air, water, and nutrient penetration | Spring or Fall during active growth |
| Dethatching | Removes barrier to moisture and nutrients | Late Spring or Early Summer when actively growing |
| Both Actions | Promotes healthier, more resilient lawn | Align with St. Augustine grass’s growing season |
By integrating both aeration and dethatching into your lawn care routine, you can enhance the health and appearance of your St. Augustine grass, ensuring it remains lush and vibrant.
5. Overseeding and Sod Patching
Overseeding and sod patching are also crucial when it comes to reviving St. Augustine grass.
Here is the right procedure for overseeding St. Augustine grass:
- Preparation: Begin by mowing the lawn short to improve seed contact with the soil, which enhances germination rates.
- Clean Up: Remove grass clippings and debris to clear the way for new seeds.
- Seeding: Use a seed spreader to evenly distribute St. Augustine grass seed across the lawn. Apply half a pound of seed per 1,000 square feet.
- Soil Enhancement: Integrate a thin layer of compost, about 1/8 inch, to provide a nutrient-rich environment.
- Fertilization: Apply a phosphorus-rich fertilizer, following an NPK ratio of 20-20-20, to support root growth and seed development.
- Watering: Gently water the area using a hose with a spray attachment to avoid displacing the newly planted seeds. Keep the soil consistently moist.
- Timing: The optimal times for overseeding are during the summer to maintain appearance and in the fall, typically between mid-September and mid-October, for seasonal preparation.
- Post-Care: Water the area frequently until the new seedlings have reached a height of 1-2 inches.
Watch the video below for guidance on how to overseed your St. Augustine grass:
Sod Patching Techniques
For areas with persistent damage lasting over five weeks, consider sod patching as a viable restoration method. Here is how:
- Preparation: Remove any dead grass and debris from the affected area.
- Sod Placement: Cut and fit new sod squares precisely into the cleared areas. Ensure the edges are snug against the existing grass.
- Soil Contact: Firmly press the sod into place to ensure good contact with the soil, which helps in root establishment.
- Watering: Thoroughly water the new sod to encourage rooting and prevent it from drying out. Regularly check moisture levels and keep the area well-hydrated..
Final Thoughts
Nurturing and rejuvenating St. Augustine grass requires patience, diligence, and a strategic approach. By implementing the five effective methods outlined in this guide, you can breathe new life into your lawn and enjoy lush, green turf once again.
Remember, the key to success lies in understanding the unique needs of St. Augustine grass and tailoring your care routine accordingly.